When a cookie craving strikes, nothing beats the simplicity and satisfaction of homemade sugar cookies. But what if you’re out of eggs, short on time, or dealing with dietary restrictions? Enter these miraculous 3-Ingredient Sugar Cookies that require no eggs, no fancy equipment, and minimal effort. With just butter, sugar, and flour, you can create tender, buttery cookies with a delicate crumb and perfect sweetness. These streamlined treats prove that sometimes the simplest recipes yield the most delicious results. Whether you’re a novice baker, cooking with children, or an experienced chef looking for a reliable go-to recipe, these no-fuss cookies deliver consistent, crowd-pleasing results in just minutes of active preparation.
Why These Simple Sugar Cookies Will Become Your New Go-To Recipe
The beauty of these 3-ingredient sugar cookies lies in their remarkable simplicity. In a world of complicated recipes requiring specialty ingredients and equipment, there’s something deeply satisfying about creating something delicious with just three pantry staples. These cookies embody the essence of what makes a great sugar cookie—buttery richness, delicate sweetness, and a tender texture—without any unnecessary additions.
What makes this recipe truly special is its forgiving nature. Without eggs or leavening agents to worry about, you can’t easily overmix or underbeat. The dough comes together quickly, can be rolled or shaped in multiple ways, and adapts beautifully to flavor variations if you choose to experiment beyond the basic recipe.
The absence of eggs also makes these cookies perfect for those with egg allergies or when you simply find yourself without eggs in the refrigerator. The dough can be made ahead and refrigerated or frozen, providing that invaluable option of having homemade cookies ready to bake whenever the mood strikes. From spontaneous afternoon treats to last-minute entertaining, these cookies deliver maximum return on minimal investment.
Just Three Simple Ingredients
The magic of these cookies comes from the perfect balance of just three everyday ingredients:
The Essential Trio:
- 1 cup (2 sticks) unsalted butter, softened to room temperature
- ½ cup granulated sugar (plus extra for rolling, if desired)
- 2 cups all-purpose flour
Optional Enhancements (Still Keeping It Simple):
- ½ teaspoon vanilla extract for classic flavor
- ¼ teaspoon almond extract for a sophisticated twist
- ¼ teaspoon salt if using unsalted butter (enhances flavor)
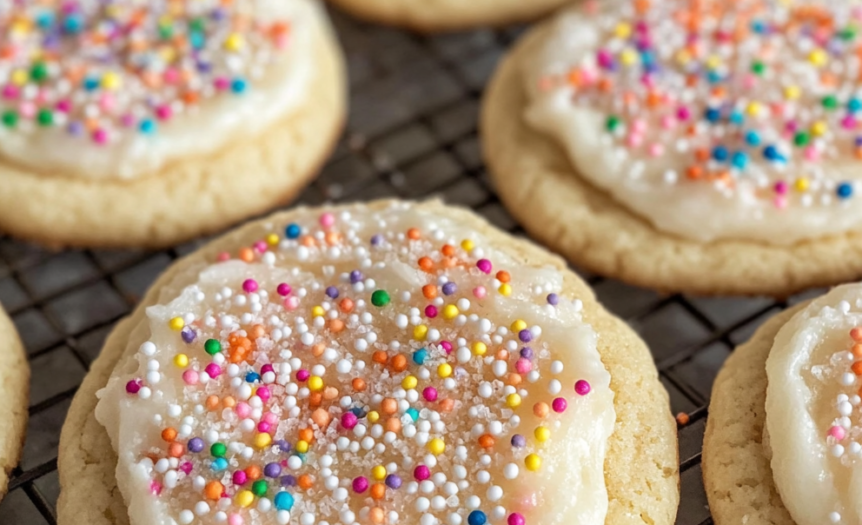
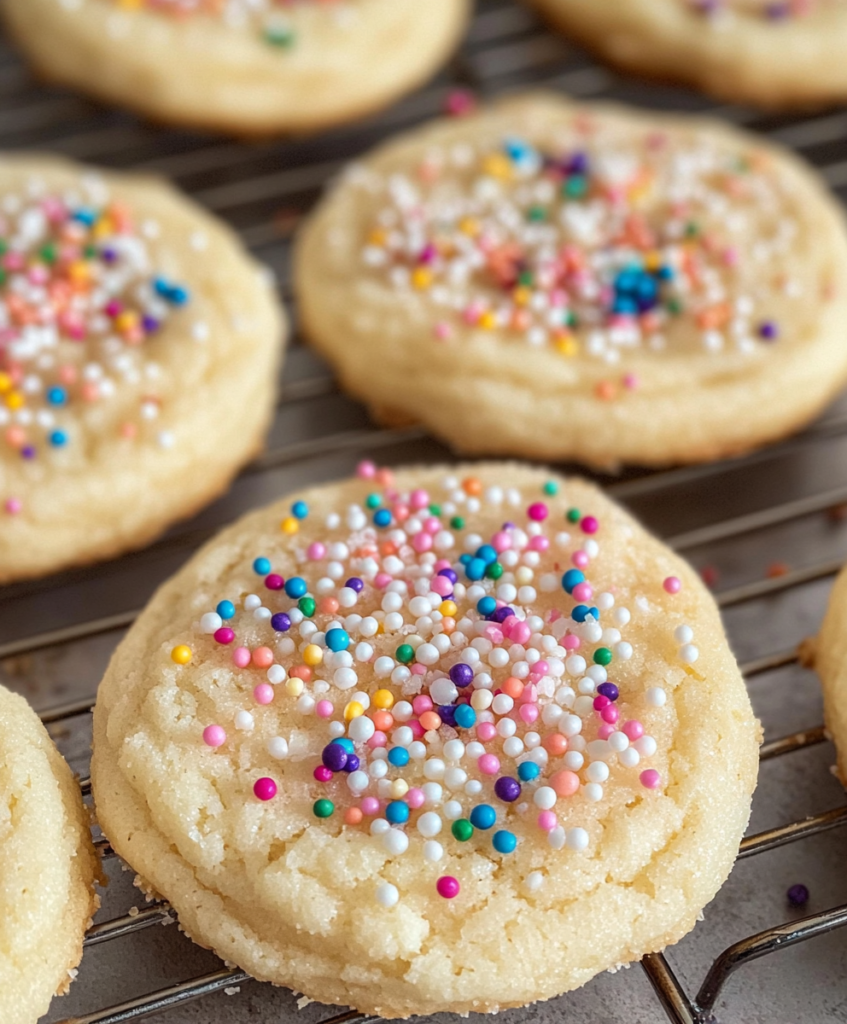
- Colored sugar or sprinkles for decoration
- Cinnamon sugar for rolling (mix 2 tablespoons sugar with ½ teaspoon cinnamon)
Step-by-Step Instructions for Perfect Cookies Every Time
These cookies come together with minimal fuss and maximum reward. Follow these simple steps for consistent results:
Step 1: Prepare Your Ingredients
Begin by ensuring your butter is properly softened—it should yield to gentle pressure but still hold its shape. This typically takes about 30-45 minutes at room temperature. Proper butter consistency is key to these cookies’ success, as it allows for even incorporation with the sugar and flour without overmixing.
Measure your flour using the spoon-and-level method for accuracy: spoon flour into the measuring cup and level off with a straight edge rather than scooping directly with the measuring cup, which can compact the flour and result in too much being used.
Step 2: Cream Butter and Sugar
In a large bowl, beat the softened butter and sugar together until the mixture becomes pale and fluffy, about 2-3 minutes. You can use an electric mixer on medium speed or mix by hand with a wooden spoon if you prefer (though this will require a bit more effort).
If using vanilla extract or other flavorings, add them during this step and beat until incorporated.
Step 3: Add the Flour
Add the flour to the butter-sugar mixture all at once or in two additions. Mix on low speed just until the flour is incorporated and a soft dough forms. Be careful not to overmix, as this can develop the gluten in the flour and make the cookies tough rather than tender.
The dough should be soft but not sticky. If it seems too soft to handle, refrigerate for 15-20 minutes before proceeding.
Step 4: Shape the Cookies
At this point, you have several options for shaping your cookies:
For traditional round cookies: Roll the dough into 1-inch balls, then place on a baking sheet lined with parchment paper, spacing them about 2 inches apart. Flatten slightly with the bottom of a glass dipped in sugar.
For slice-and-bake cookies: Form the dough into a log about 2 inches in diameter, wrap in parchment paper or plastic wrap, and refrigerate for at least 1 hour. When ready to bake, slice into ¼-inch rounds.
For cut-out cookies: Form the dough into a disk, wrap in plastic wrap, and refrigerate for at least 1 hour. Roll out on a lightly floured surface to ¼-inch thickness and cut with cookie cutters.
For thumb print cookies: Roll into 1-inch balls, place on baking sheet, and make an indentation in the center with your thumb or the back of a small measuring spoon.
Step 5: Bake to Golden Perfection
Preheat your oven to 350°F (175°C). Place the shaped cookies on a baking sheet lined with parchment paper, leaving about 2 inches between cookies as they will spread slightly.
Bake for 10-12 minutes, or until the edges are just turning golden. The centers may look slightly underdone, but they will firm up as the cookies cool. For crispier cookies, bake for an additional 1-2 minutes.
Step 6: Cool and Enjoy
Allow the cookies to cool on the baking sheet for 5 minutes before transferring to a wire rack to cool completely. This short rest on the hot baking sheet allows the cookies to firm up enough to move without breaking.
Once cooled, store in an airtight container at room temperature for up to one week, if they last that long!
Variations to Keep It Interesting
The beauty of this simple recipe is how easily it adapts to different flavors and presentations while maintaining its egg-free, three-ingredient base:
Classic Enhancements:
Vanilla Sugar Cookies: Add 1 teaspoon vanilla extract to the butter-sugar mixture.
Lemon Burst Cookies: Add 1 tablespoon lemon zest and 1 teaspoon lemon juice to the butter-sugar mixture.
Cinnamon Sugar Cookies: Roll the shaped dough balls in a mixture of 2 tablespoons sugar and 1 teaspoon cinnamon before baking.
Creative Twists:
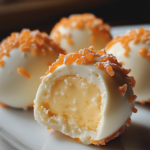
Chocolate Dipped: Once cooled, dip half of each cookie in melted chocolate and set on parchment paper until the chocolate hardens.
Jam Thumbprints: Create an indentation in the center of each cookie ball before baking, then fill with a small amount of your favorite jam during the last 5 minutes of baking.
Sandwich Cookies: Spread a thin layer of chocolate hazelnut spread, dulce de leche, or frosting between two cooled cookies.
Chai Spiced: Add ¼ teaspoon each of ground cardamom, cinnamon, ginger, and cloves to the flour before mixing.
Make-Ahead and Storage Tips
These 3-ingredient cookies are perfect for planning ahead:
Make-Ahead Options:
Refrigerate the dough: The dough can be prepared and refrigerated for up to 3 days. Shape into a disk or log, wrap tightly in plastic wrap, and store in the refrigerator. Let it sit at room temperature for 10-15 minutes before rolling or shaping.
Freeze the dough: For longer storage, the dough can be frozen for up to 3 months. Wrap well in plastic wrap, then place in a freezer bag. Thaw overnight in the refrigerator before using.
Freeze shaped unbaked cookies: Place shaped cookies on a baking sheet and freeze until solid, then transfer to a freezer bag. Bake directly from frozen, adding 1-2 minutes to the baking time.
Storage Solutions:
Short-term storage: Keep baked cookies in an airtight container at room temperature for up to 1 week. Place a piece of bread in the container to help keep the cookies soft.
Long-term storage: Baked cookies can be frozen for up to 3 months. Layer cookies between sheets of parchment paper in a freezer-safe container. Thaw at room temperature before serving.
Refreshing day-old cookies: Warm cookies for 5-7 seconds in the microwave for that just-baked taste and texture.
Perfect Occasions for These Simple Sugar Cookies
These versatile cookies are appropriate for countless occasions:
Family Activities:
- Rainy day baking projects with children
- Holiday cookie decorating sessions
- Teaching basic baking skills to beginners
- Impromptu playdates when you need a quick activity
Gift-Giving Opportunities:
- Cookie swaps and exchanges
- Homemade holiday gifts in decorative tins
- Welcome gifts for new neighbors
- Thank-you treats for teachers or service providers
Entertaining Scenarios:
- Last-minute dessert for unexpected guests
- Casual dinner party sweet finish
- Afternoon tea accompaniment
- Coffee break treats for meetings
Expert Tips for Foolproof Results
These professional pointers will help ensure cookie success:
- Butter temperature matters: Too cold and it won’t incorporate properly; too warm and the cookies will spread too much. It should be cool to the touch but yield when pressed with your finger.
- Measure flour correctly: Use the spoon-and-level method for accurate measurement. Too much flour results in dry, crumbly cookies.
- Don’t overmix: Once the flour is added, mix just until combined. Overmixing develops gluten, resulting in tough cookies.
- Uniform sizing: Use a small cookie scoop or tablespoon for consistent sizing, which ensures even baking.
- Proper spacing: Leave enough room between cookies on the baking sheet, as they will spread slightly during baking.
- Watch carefully while baking: Since these cookies have a high butter content, the line between perfectly baked and overbaked is thin. Look for slight golden edges rather than waiting for the entire cookie to turn golden.
- Consider your baking sheets: Dark baking sheets absorb more heat and may require a shorter baking time or slightly lower oven temperature.
The Science Behind These Simple Cookies
Understanding the food science at work helps explain why these cookies succeed with just three ingredients:
- Butter’s dual role: Butter provides both fat and moisture. The fat tenderizes by coating flour proteins and preventing excessive gluten development, while the water content creates steam during baking that helps leaven the cookies slightly.
- Sugar functions: Beyond sweetness, sugar helps tenderize cookies by attracting moisture and interfering with gluten formation. It also contributes to spread and caramelization during baking, creating those delicious golden edges.
- Flour structure: The protein in all-purpose flour provides the structure that holds the cookies together, while the starch absorbs moisture and expands during baking.
- Creaming magic: The process of beating butter and sugar together incorporates air into the mixture, creating tiny pockets that expand during baking and help the cookies rise slightly despite having no leavening agents.
Simple Cookies with Sophisticated Appeal
These 3-ingredient sugar cookies may be basic in their composition, but they offer a canvas for endless creativity and personalization:
Decorating Ideas:
- Before baking: Press patterns into the tops using a fork, the bottom of a decorative glass, or small cookie stamps.
- Textural additions: Sprinkle the tops with coarse sugar, chopped nuts, or coconut before baking.
- After baking: Drizzle with melted chocolate, dust with powdered sugar, or add a simple glaze (mix powdered sugar with a small amount of milk or juice until desired consistency).
- Holiday themes: Use colored sugar or themed sprinkles to match seasonal celebrations.
Serving Suggestions:
- Cookie platters: Combine with other cookie varieties for an impressive dessert assortment.
- Ice cream accompaniment: Serve alongside a scoop of quality ice cream for an elevated dessert.
- Beverage pairing: Match with tea, coffee, or milk for a simple but satisfying treat.
- Dessert base: Crumble and use as a base for cheesecake or trifle layers.
Why These Cookies Work for Special Diets
These egg-free cookies naturally accommodate several dietary considerations:
- Egg allergies: With no eggs in the recipe, these cookies are perfect for those with egg allergies or sensitivities.
- Vegetarian-friendly: Contains no animal products except butter, making them suitable for many vegetarian diets.
- Low in additives: With just three basic ingredients, these cookies avoid the preservatives and artificial ingredients found in many store-bought options.
- Adaptable for dietary needs: The basic recipe can be modified to use gluten-free flour blends or plant-based butter alternatives for those with additional dietary restrictions.
A Testament to Baking Simplicity
In a world where recipes often seem to require ever-more exotic ingredients and specialized techniques, these 3-ingredient sugar cookies are a refreshing reminder that sometimes, simplicity yields the most satisfying results. They embody the essence of home baking—accessible, comforting, and delicious without being complicated.
These cookies prove that you don’t need a fully stocked pantry or advanced culinary training to create something truly special. When butter, sugar, and flour come together in the right proportions, something magical happens—a perfect balance of sweetness and richness, with a texture that can be either tender and soft or crisp and snappy depending on how you choose to bake them.
Whether you’re a novice baker just starting your culinary journey, a parent looking for a quick activity to do with children, or an experienced cook who appreciates the elegance of a well-executed simple recipe, these 3-ingredient sugar cookies deliver satisfaction with minimal effort. Their versatility makes them appropriate for everything from casual family snacking to elegant entertaining, and their forgiving nature ensures success even for those who don’t consider themselves bakers.
So the next time you’re craving something sweet but don’t want to deal with a complicated recipe or a trip to the grocery store, remember these 3-ingredient wonders. With just butter, sugar, and flour—ingredients you likely already have in your pantry—you’re just minutes away from the simple pleasure of freshly baked cookies that prove that sometimes, less truly is more.