There’s something timeless and magical about making homemade saltwater taffy. With just a few pantry staples, you can recreate this nostalgic boardwalk treat in your own kitchen. Each bite delivers that chewy, stretchy texture and sweet flavor that instantly brings back memories of beachside shops and candy counters.
Whether you’re looking for a fun family kitchen project or a creative edible gift idea, these colorful taffy rolls are endlessly customizable and perfect for sharing.
Why You’ll Love This Recipe
- Simple ingredients: Most of what you need is already in your pantry.
- Fun and hands-on: A great project for kids and adults alike.
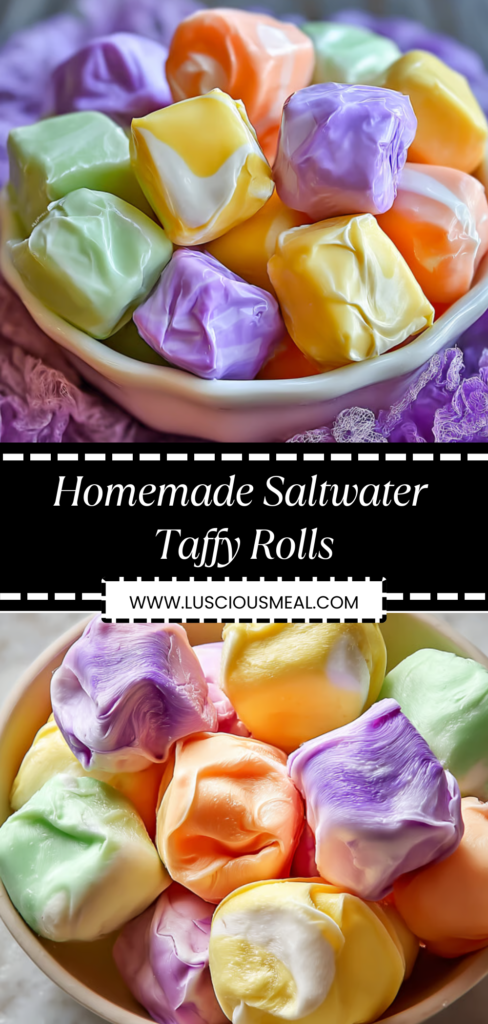
- Customizable flavors and colors: Match any season, holiday, or occasion.
- Lasts for days: Wrapped up individually, these treats stay fresh and chewy.
There’s something extra rewarding about making candy from scratch, and taffy pulling is a tradition that turns sweet treats into sweet memories.
Ingredients Overview
Main Ingredients
- Granulated sugar (2 1/2 cups) – The base of the candy, giving sweetness and structure.
- Light corn syrup (1 1/2 cups) – Prevents crystallization and keeps the texture smooth.
- Water (1 cup) – Helps dissolve the sugar and keeps the mixture fluid while cooking.
- Unsalted butter (2 tablespoons) – Adds richness and softens the final chew.
- Salt (2 teaspoons) – Enhances the sweetness and rounds out the flavor.
- Vanilla extract (1 teaspoon) – Adds warm, familiar aroma and flavor.
Optional Add-Ins
- Food coloring – Use gel-based for vibrant colors. A little goes a long way.
- Flavor extracts – Try lemon, peppermint, strawberry, or coconut for variety.
How to Make Saltwater Taffy Rolls
Step 1: Prepare the Surface
Generously butter a large baking sheet or marble slab. This prevents sticking and makes it easier to work the hot candy later.
Step 2: Combine the Base Ingredients
In a heavy-bottomed saucepan, combine the granulated sugar, corn syrup, water, and salt. Stir over medium heat until the sugar is completely dissolved and the mixture looks clear.
Step 3: Boil Without Stirring
Once the sugar has dissolved, stop stirring. Attach a candy thermometer to the pan and bring the mixture to a steady boil. Let it cook undisturbed until it reaches 250°F (120°C)—the hard-ball stage. This usually takes 10 to 15 minutes, but monitor closely as the temperature can rise quickly near the end.
Step 4: Add Butter and Flavor
Immediately remove the pan from the heat once it hits the target temperature. Stir in the butter, vanilla extract, and any chosen food coloring or flavorings. Be cautious—the mixture will be extremely hot and can bubble as you stir.
Step 5: Pour and Cool
Carefully pour the hot mixture onto your prepared surface. Let it cool undisturbed for about 10 minutes, until it’s warm but safe to touch. The surface should look glossy and slightly wrinkled.
Step 6: Pull the Taffy
Butter your hands thoroughly. Pick up the taffy and begin stretching and folding it over itself. Continue pulling for about 15 minutes. As air gets worked into the candy, it will become lighter in color and firmer in texture. This pulling process gives taffy its signature chew and aerated fluffiness.
Step 7: Shape and Cut
Once the taffy holds its shape, roll it into long ropes about ½-inch thick. Use buttered scissors or a greased knife to cut into bite-sized pieces.
Step 8: Wrap the Taffy
Cut small squares of wax paper and wrap each piece individually. Twist the ends to seal. This keeps the candy soft, fresh, and ready for sharing or gifting.
Storage Tips
- Room Temperature: Store wrapped pieces in an airtight container in a cool, dry place. Taffy stays fresh for up to two weeks.
- Avoid Refrigeration: The fridge can introduce moisture, which may make the taffy sticky.
- Dust if needed: If the pieces begin to stick together, lightly dust them with a bit of cornstarch before wrapping.
Flavor Variations
Get creative and tailor your taffy to match any occasion:
- Lemon extract + yellow food coloring – Bright and sunny
- Peppermint + red swirls – Perfect for the holidays
- Strawberry + pink – Sweet and fruity
- Coconut + blue – A tropical twist for summer parties
- Cinnamon + orange – A cozy fall favorite
You can divide the mixture and flavor/color smaller batches for a multicolored candy bowl.
Cultural & Historical Notes
Despite the name, saltwater taffy doesn’t actually contain seawater. The treat was first made in Atlantic City in the late 1800s and has since become a staple of boardwalk candy shops. The iconic pulling process adds air into the candy, giving it a fluffy texture, and has long been a group activity—bringing families together in both work and reward.
Pro Tips for Taffy Success
- Use a heavy-bottomed saucepan to prevent burning.
- Don’t stir once it starts boiling—crystals will form and ruin the smooth texture.
- Watch the thermometer closely—even a few degrees off can change the final texture.
- Butter your hands and tools well to prevent sticking during pulling and cutting.
- Let kids help with wrapping for a fun hands-on activity after the taffy cools.
Make It Seasonal
- Spring: Try berry flavors with pastel coloring.
- Summer: Coconut, lime, and tropical blends work beautifully.
- Fall: Cinnamon and maple add warmth.
- Winter: Peppermint with red and white stripes is festive and fun.
These candies make perfect stocking stuffers, party favors, or additions to gift baskets.
Recipe FAQs
→ Do I need a candy thermometer?
Yes, precise temperature is crucial for achieving the right texture. 250°F (hard-ball stage) ensures the candy is pliable, not too hard or soft.
→ How long should I pull the taffy?
About 15 minutes. The taffy should turn lighter in color and be firm but still stretchable.
→ Can I make this without corn syrup?
You can try brown rice syrup or honey, but the texture and flavor will be different. Corn syrup ensures smoothness and prevents crystallization.
→ What if I overcook the taffy?
It may turn hard and brittle instead of chewy. Always monitor the temperature carefully and remove the pot from heat right at 250°F.
→ How can I wrap taffy easily?
Use pre-cut wax paper squares and twist both ends. You can even find patterned wax papers for gifting.
